Google Earth Studio is the missing link for video journalists and animators when it comes to simulate a flight over the Earth, to zoom into a specific geographic region or to integrate some nice 3D rendering of cities in a video report. Previously you had several possibilities to achieve this: either by screen-capturing several sequences of Google Earth by preparing a KML with keypoints or you took sequences and edited it by faking some zoom effects with After Effects (here is a link to a pretty nice tutorial: https://youtu.be/gubx6zhRTII?t=105). Now forget all about this time consuming solutions because here comes a new tool: Google Earth Studio that you can directly use in your webbrowser (https://earth.google.com/studio/).
Features
As Google Earth Studio is a Google product you will need to sign-in with a valid Google account. The whole user interface is built upon HTML5 and the user experience is really great. A very easy-to-use timeline enables user to simply put some keypoints and to fine tune the position of the camera and the camera's target. If you are using Adobe Premiere or After Effects, it will be a piece of cake for you.
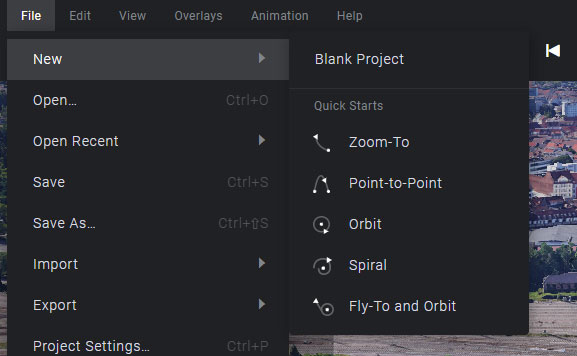
If changing camera parameters and adjusting the tweens and keypoints is not really your cup of tea, you will be happy to use the inbuilt preadjusted so-called Quick Starts animation templates (Zoom-To, Point-to-Point,Orbit, Spiral and Fly-To and Orbit).
In the following screencast, I took the "Fly-To and Orbit" to fly over Paris and orbit around the Eiffel Tower. Of course I could do this manually, but as you see it here, you only need to provide the name of the location and the corresponding target latitude and longitude will be automatically determined.
In a next step, I've adjusted a few parameters like the target altitude (I wanted to focus on the top of the Eiffel Tower rather than on the first stage) and the duration of the movie (here 25 seconds).
And after a few seconds of configuration you will get a fully configured timeline with the corresponding camera keypoint and parameters for your animation. Great, isn't it?
Exporting as MP4
Now that we have configured our animation, you will have the (two) option(s) to export your animation. Either as Image Sequence (e.g. if you want to create afterwards an animated GIF) or a video (as .mp4 file).
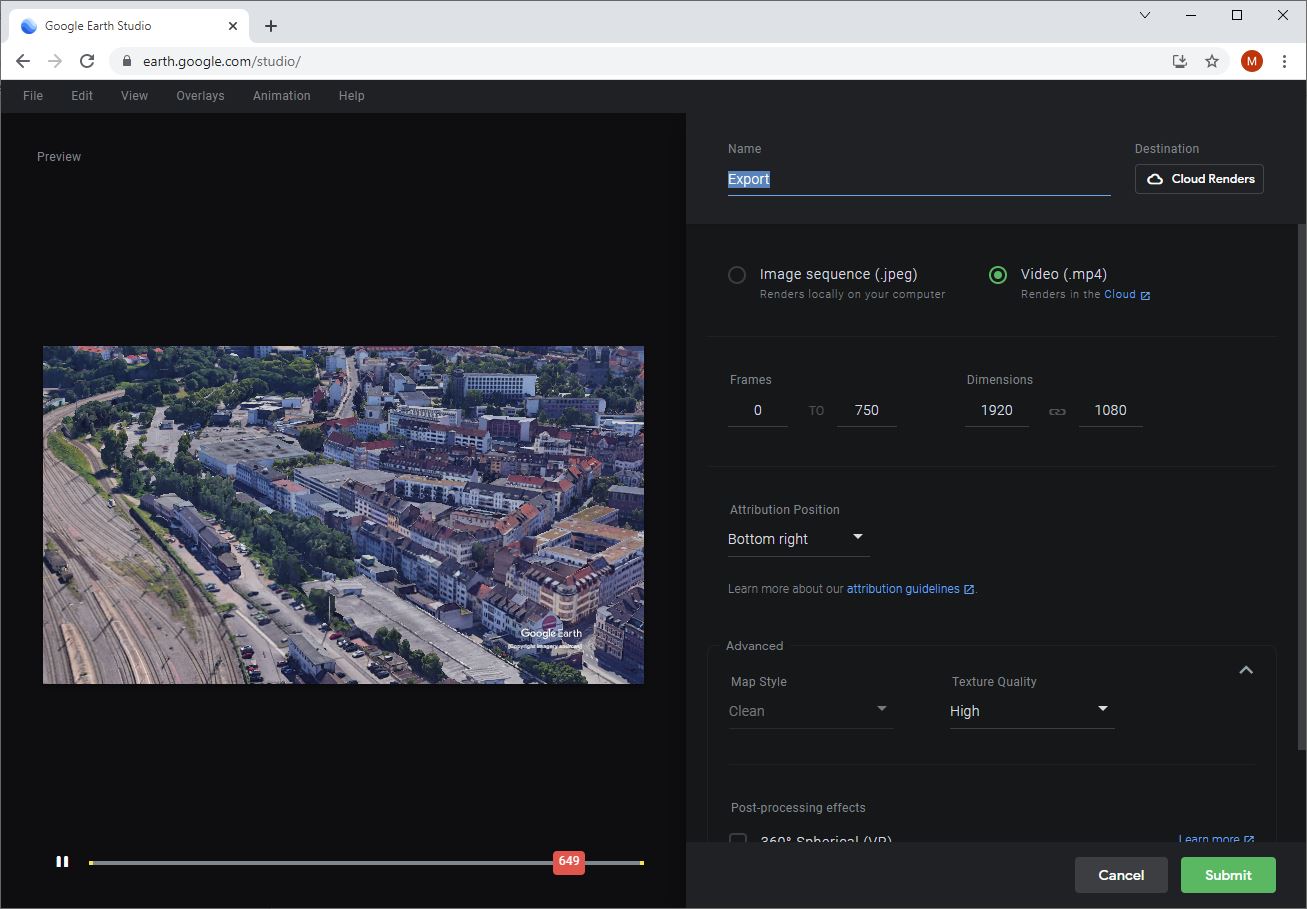
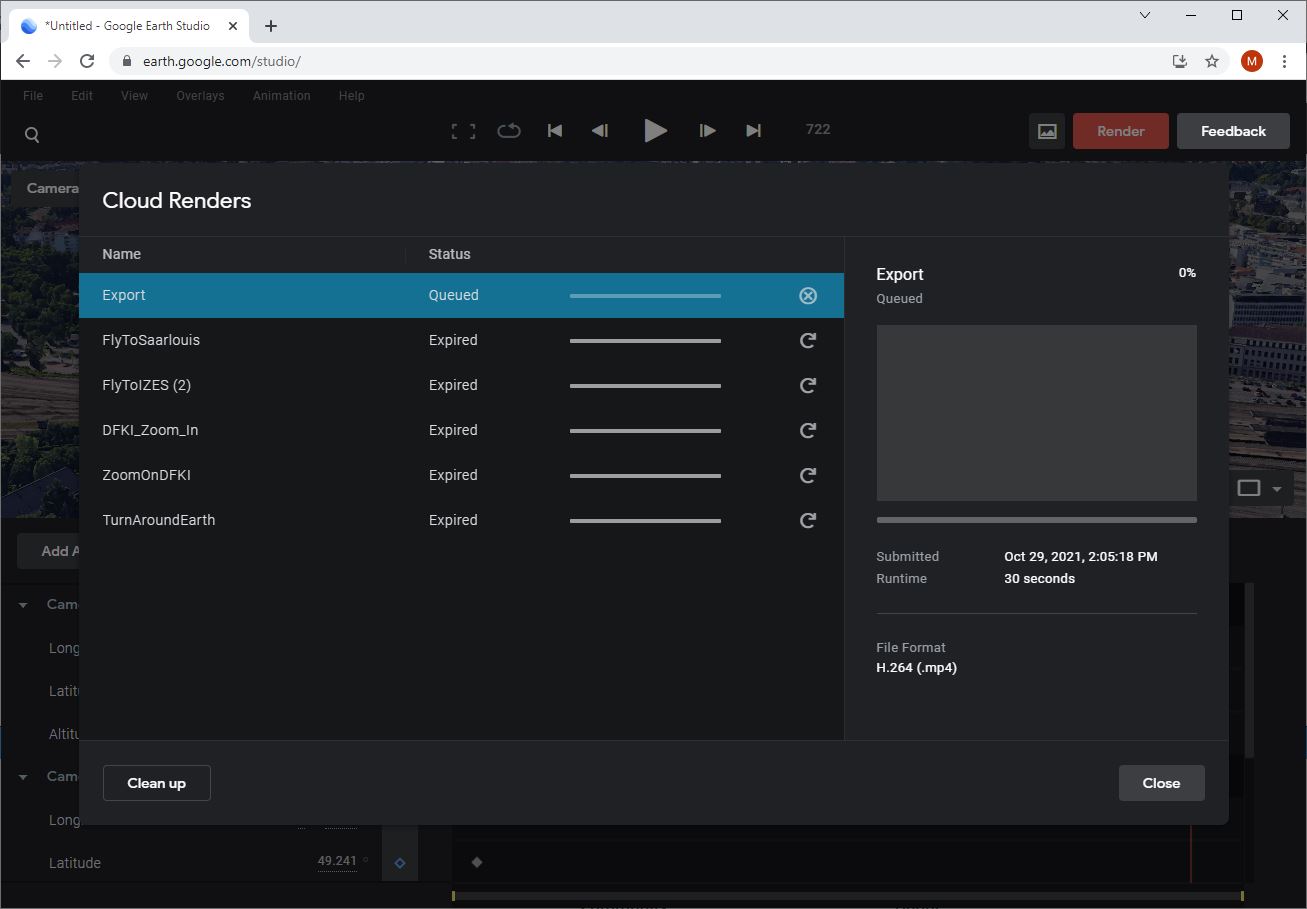
One brillant point of the rendering in Google Earth Studio is the fact, that you don't need to wait that your animation is rendered: the rendering itself is deferred on Google Cloud Render servers and once it's completely done you will even get a email notification and a download link.
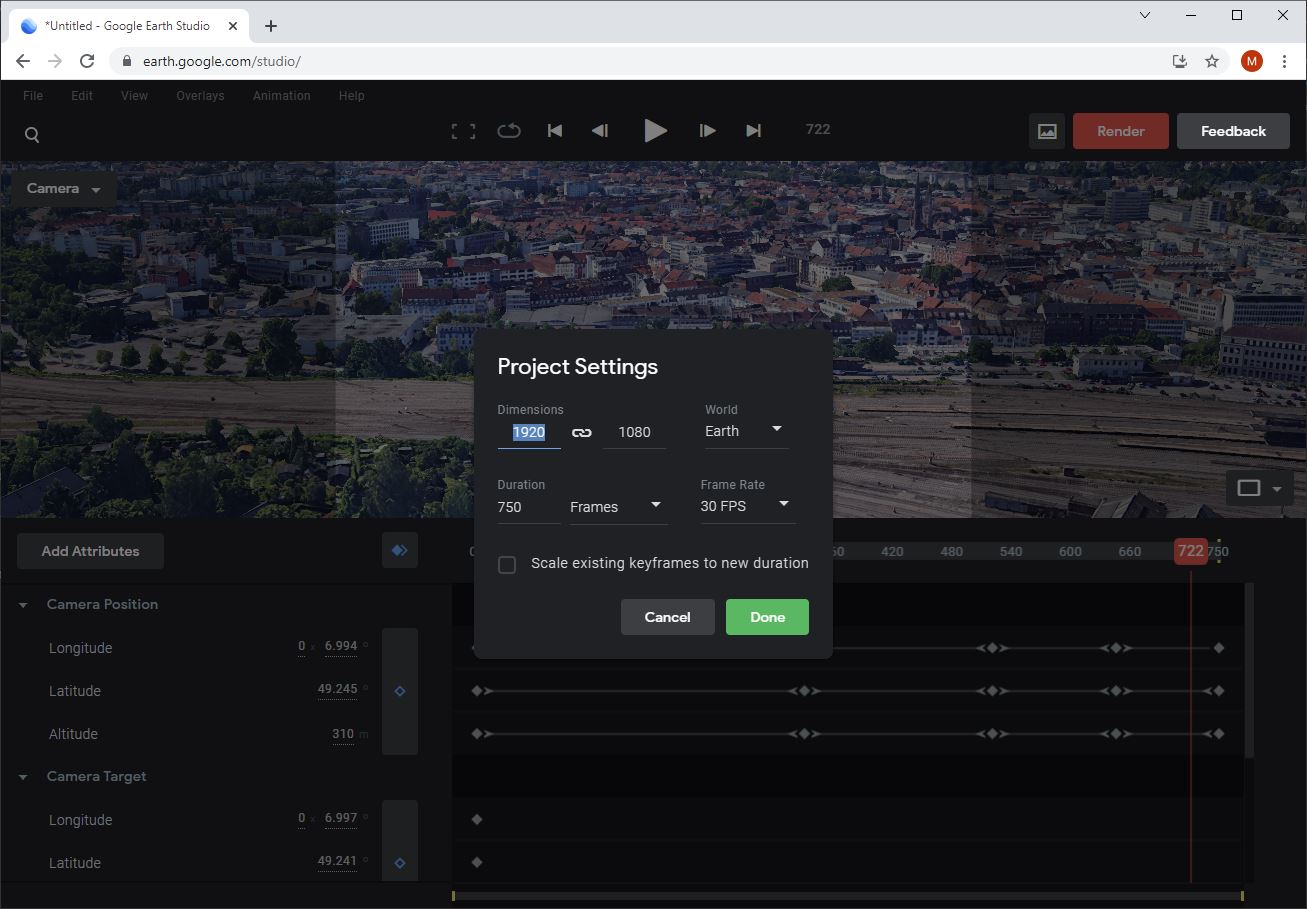
The dimensions, duration, frame rate of your output can be modified under the option "Project Settings"
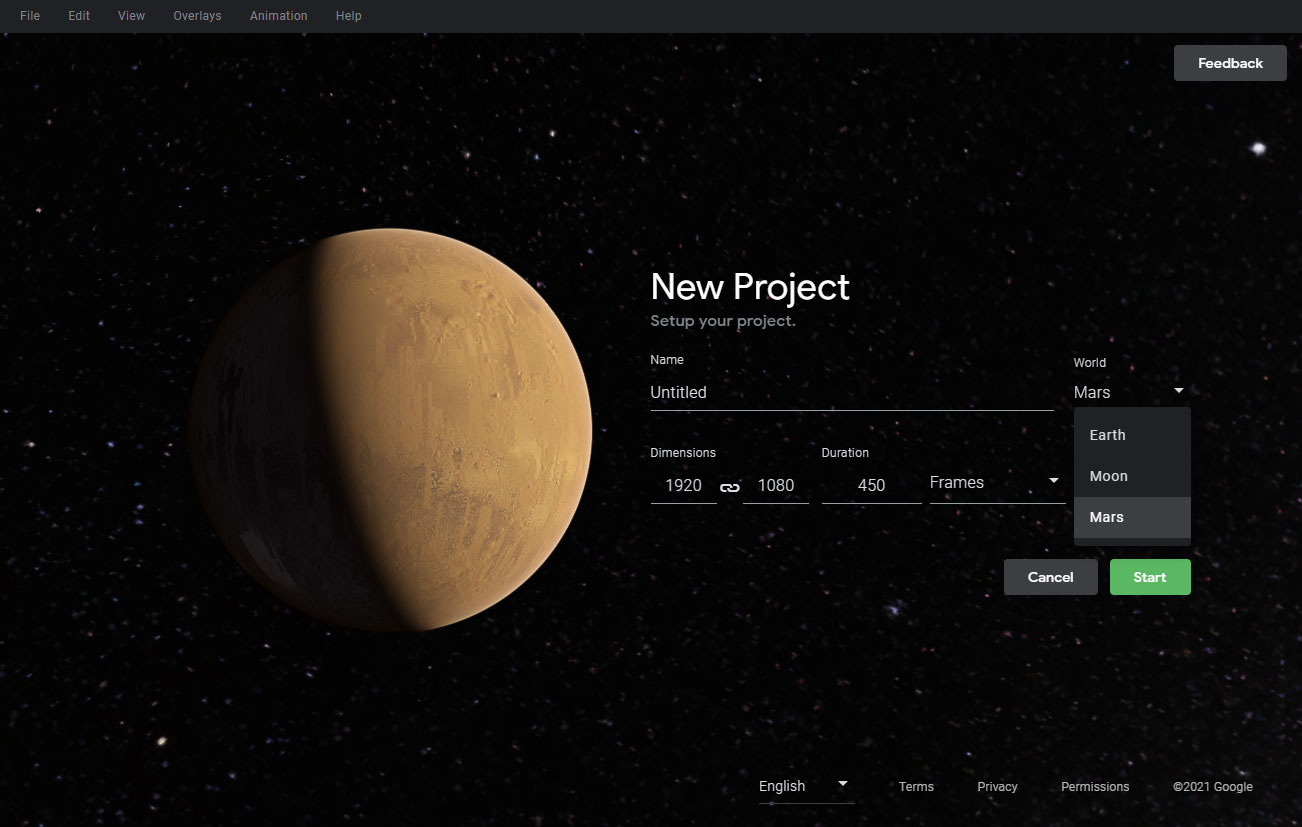
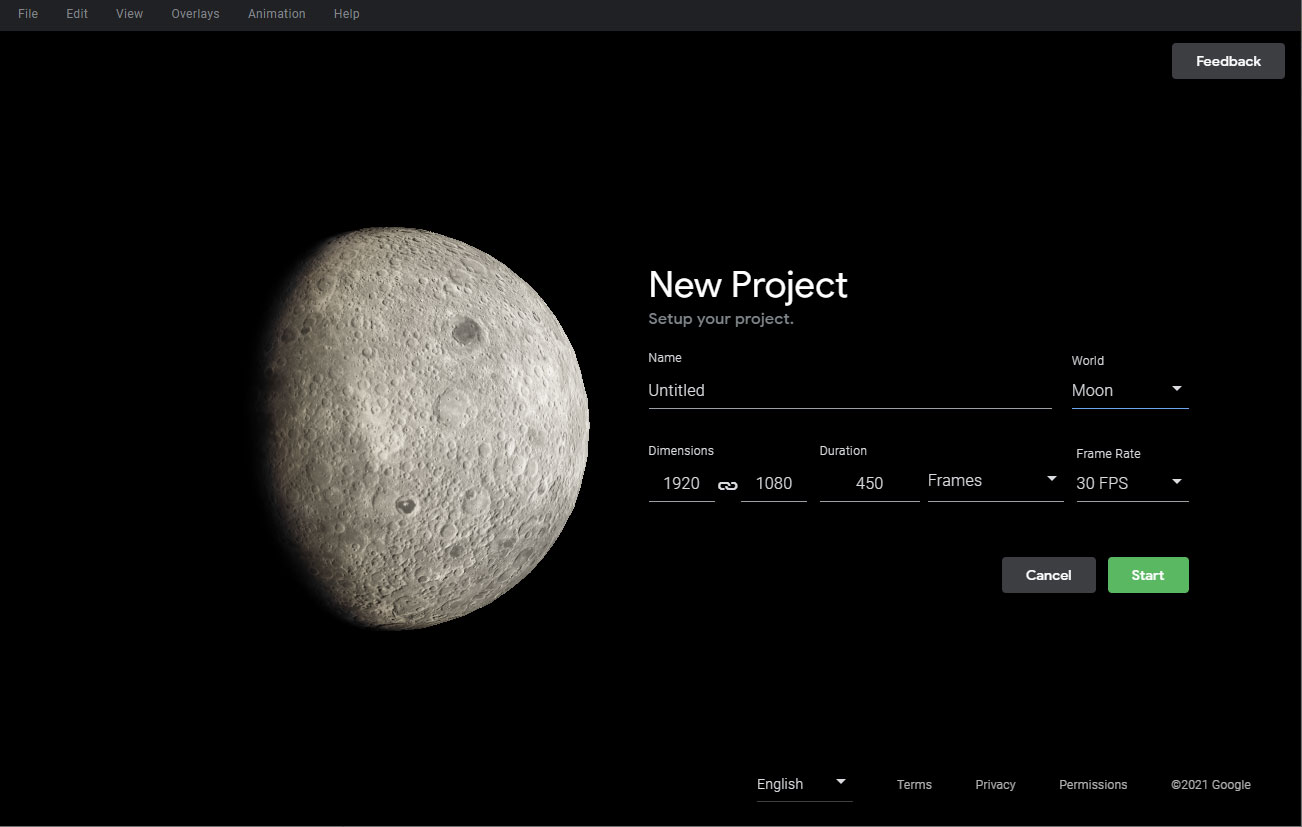
Nice trick:If you are tired of flying over the Earth, you can change your "World" type to Mars or the Moon :-)
With Google Earth Studio you really have a powerful tool in your hand especially if you are looking to generate amazing animation over geographic places!